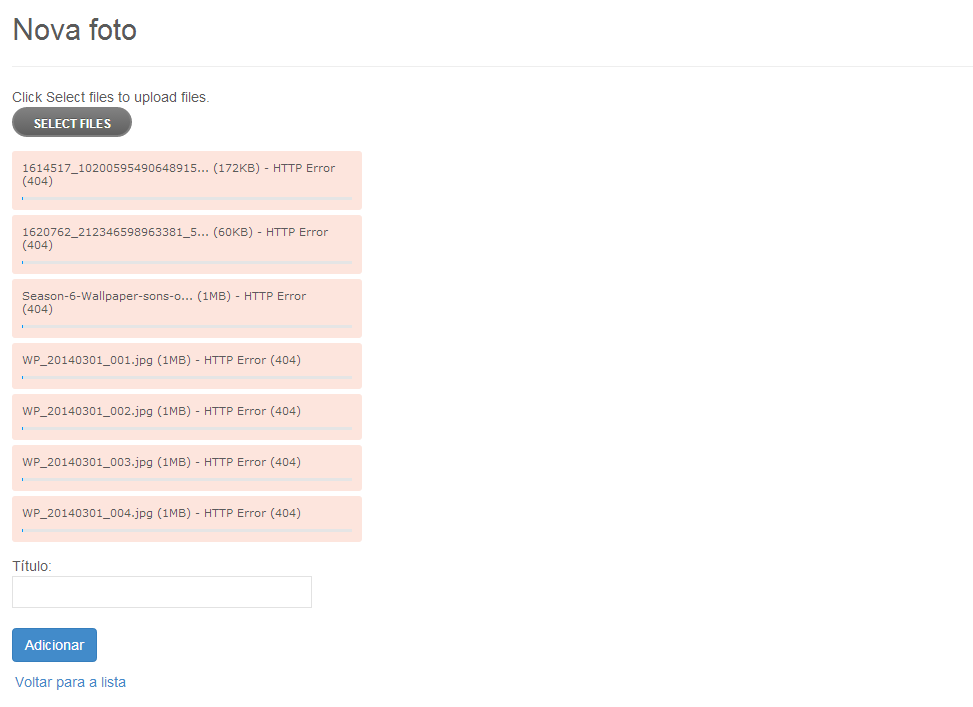
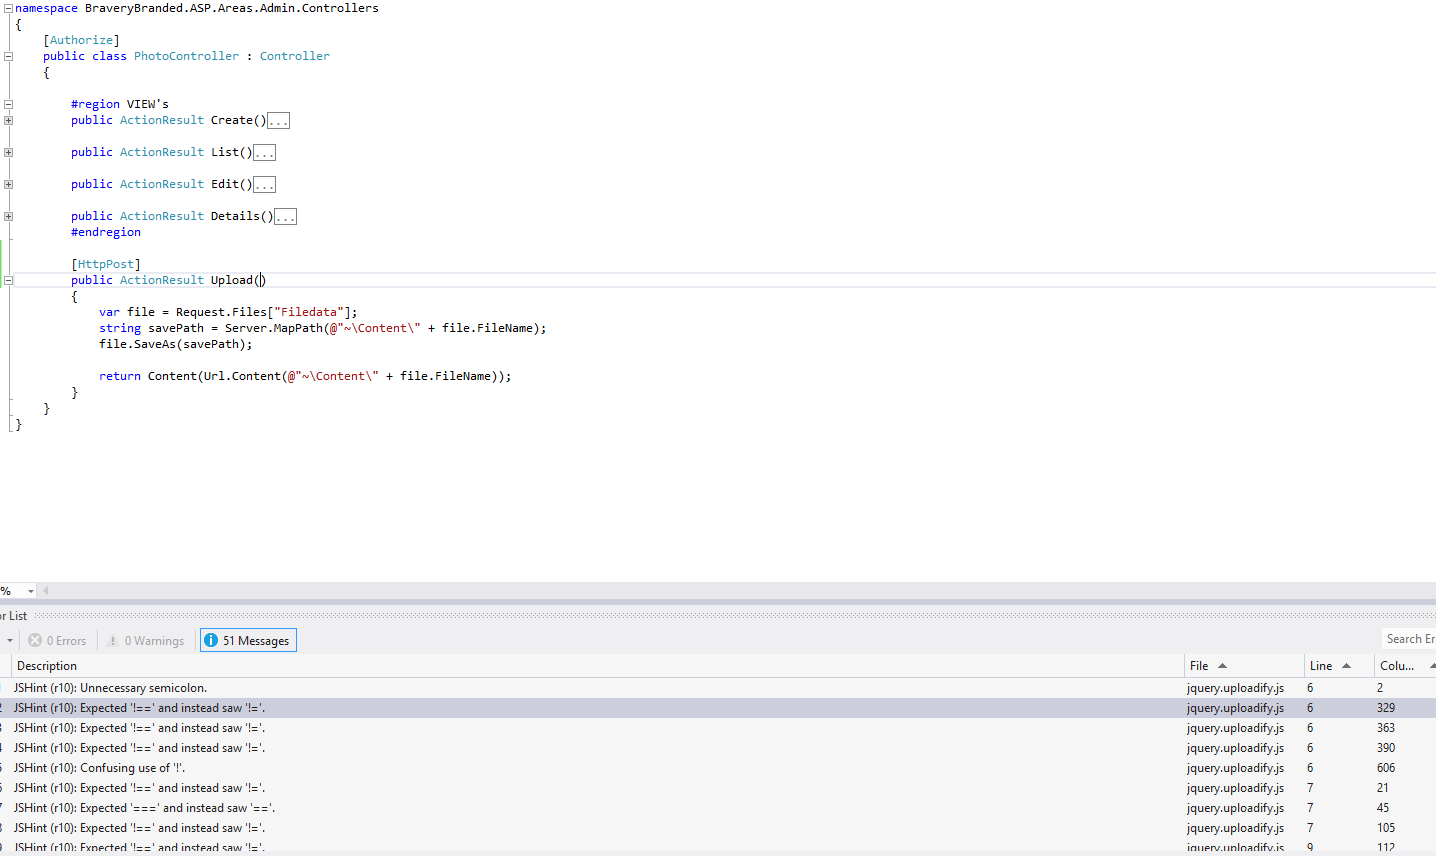
A resposta original recomendava utilizar o pacote NuGet:
https://www.nuget.org/packages/Uploadfy/
Mas ele é antigo e pode não servir se a versão do jQuery for das mais recentes. Então faça o download do Zip neste endereço:
http://www.uploadify.com/download/
Coloque os arquivos no seu projeto da seguinte forma:
~/Scripts/jquery.uploadify.js~/Content/UploadifyContent/uploadify.swf~/Content/UploadifyContent/uploadify-cancel.png~/Content/UploadifyContent/uploadify.css
Exemplo de View
@{
    ViewBag.Title = "Index";
}

<!DOCTYPE html>
<html>
<head>
    <meta name="viewport" content="width=device-width" />
    <title>Upload Files</title>
    @Scripts.Render("~/bundles/jquery")
    <script type="text/javascript" src="@Url.Content("~/Scripts/jquery.uploadify.js")"></script>
    <link rel="stylesheet" type="text/css" href="@Url.Content("~/Content/UploadifyContent/uploadify.css")" />

    <script type="text/javascript">
        $(function () {
            $('#file_upload').uploadify({
                'swf': "@Url.Content("~/Content/UploadifyContent/uploadify.swf")",
                'cancelImg': "@Url.Content("~/Content/UploadifyContent/uploadify-cancel.png")",
                'uploader': "@Url.Action("Upload", "Home")",
                'onUploadSuccess' : function(file, data, response) {
                     $("#uploaded").append("<img src='" + data + "' alt='Uploaded Image' />");
                }
            });
        });
    </script>

</head>
<body>
    <div>
        Click Select files to upload files.
        <input type="file" name="file_upload" id="file_upload" />
    </div>
    <div id="uploaded">
    </div>
</body>
</html>
Exemplo de Controller (Controllers\HomeController.cs)
public ActionResult Index()
{
    return View();
}

public ActionResult Upload()
{
    var file = Request.Files["Filedata"];
    string savePath = Server.MapPath(@"~\Content\" + file.FileName);
    file.SaveAs(savePath);

    return Content(Url.Content(@"~\Content\" + file.FileName));
}

